
Every few weeks a student asks me the same question, usually in the same hushed voice. They have written a song, or they have a riff that has followed them around for a month, and they want it recorded before it slips away. Then comes the doubt: I don't have a studio. Maybe they tried recording into their phone, listened back, and heard a thin, distant version of what they actually play. That is not a recording problem. That is a signal problem, and it gets fixed long before any mixing math shows up.
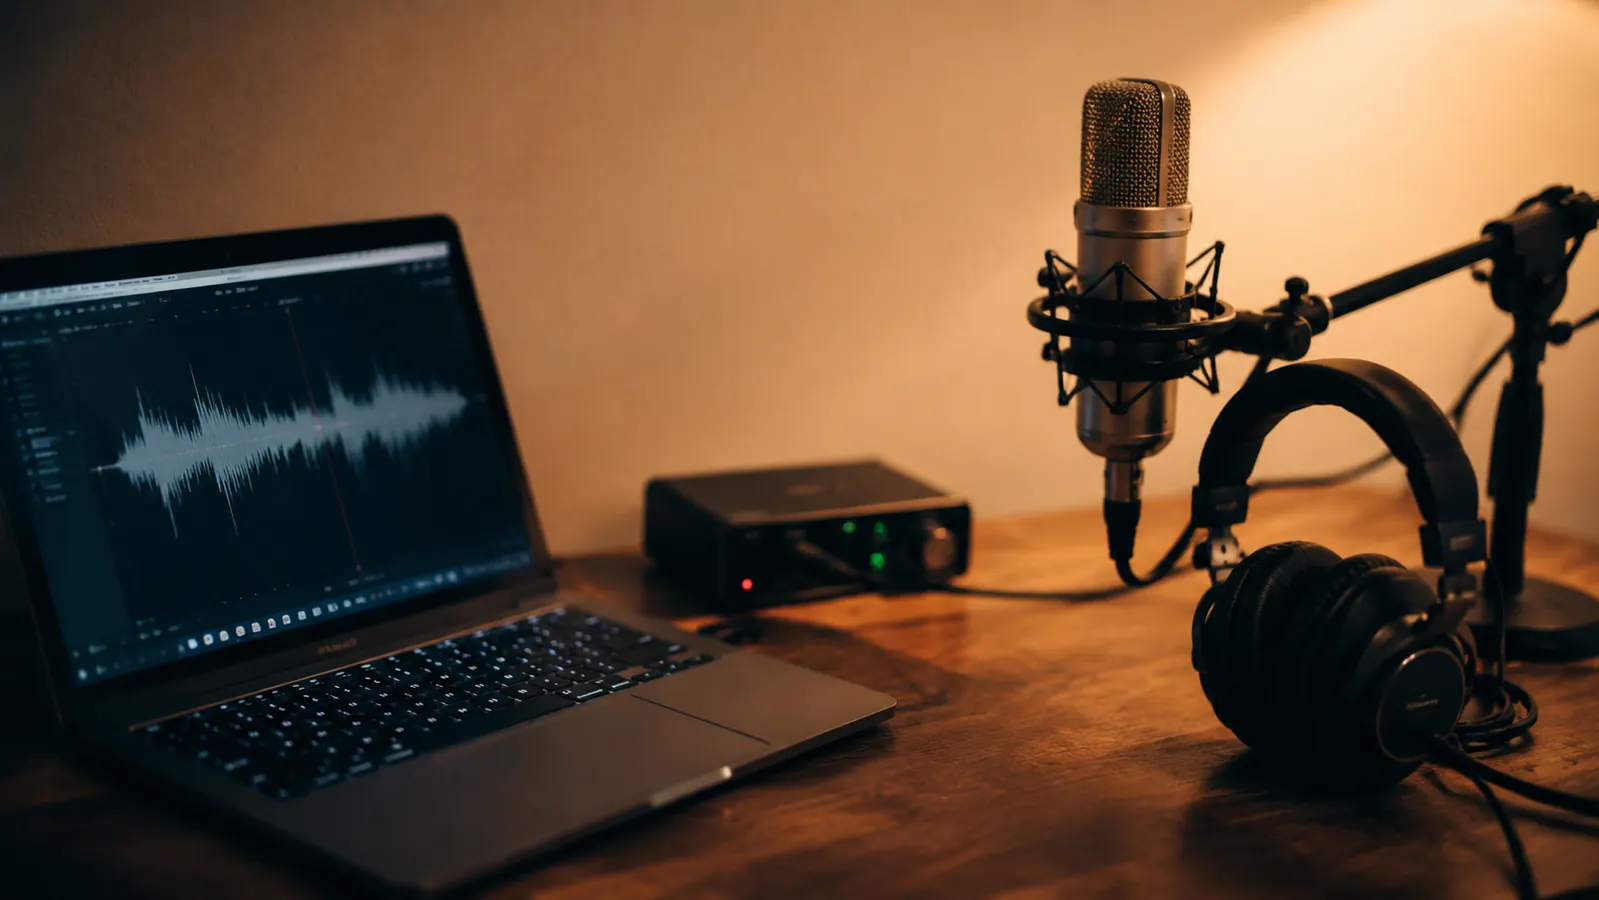
The other thing they assume is that the first recording costs real money before you hear a single note. It does not. My desk holds a laptop, a pair of closed-back headphones, one microphone on a stand, and a Focusrite Scarlett Solo sitting within reach of a cable. That is the entire rig, and it is the same rig I set up for a student who wants to record a song. The Focusrite Scarlett Solo is the bridge. It takes the weak signal from a microphone or a guitar, amplifies it through its own preamp, and hands the computer a clean, strong version of what you played. I have now watched dozens of students press record on this thing for the first time, and here is the exact workflow I walk them through.
The One Piece That Makes Home Recording Sound Like Playing
Everything else in this rig is free or already in the house. The interface is the part that decides whether the file sounds like you. The Scarlett Solo's preamp is quiet and clean enough that a modest microphone still records honestly.
Amazon Check Today's Price on Amazon →The First-Song Workflow, From Plug-In to Export
Step 1: Plug the Interface In Before You Open Any Software
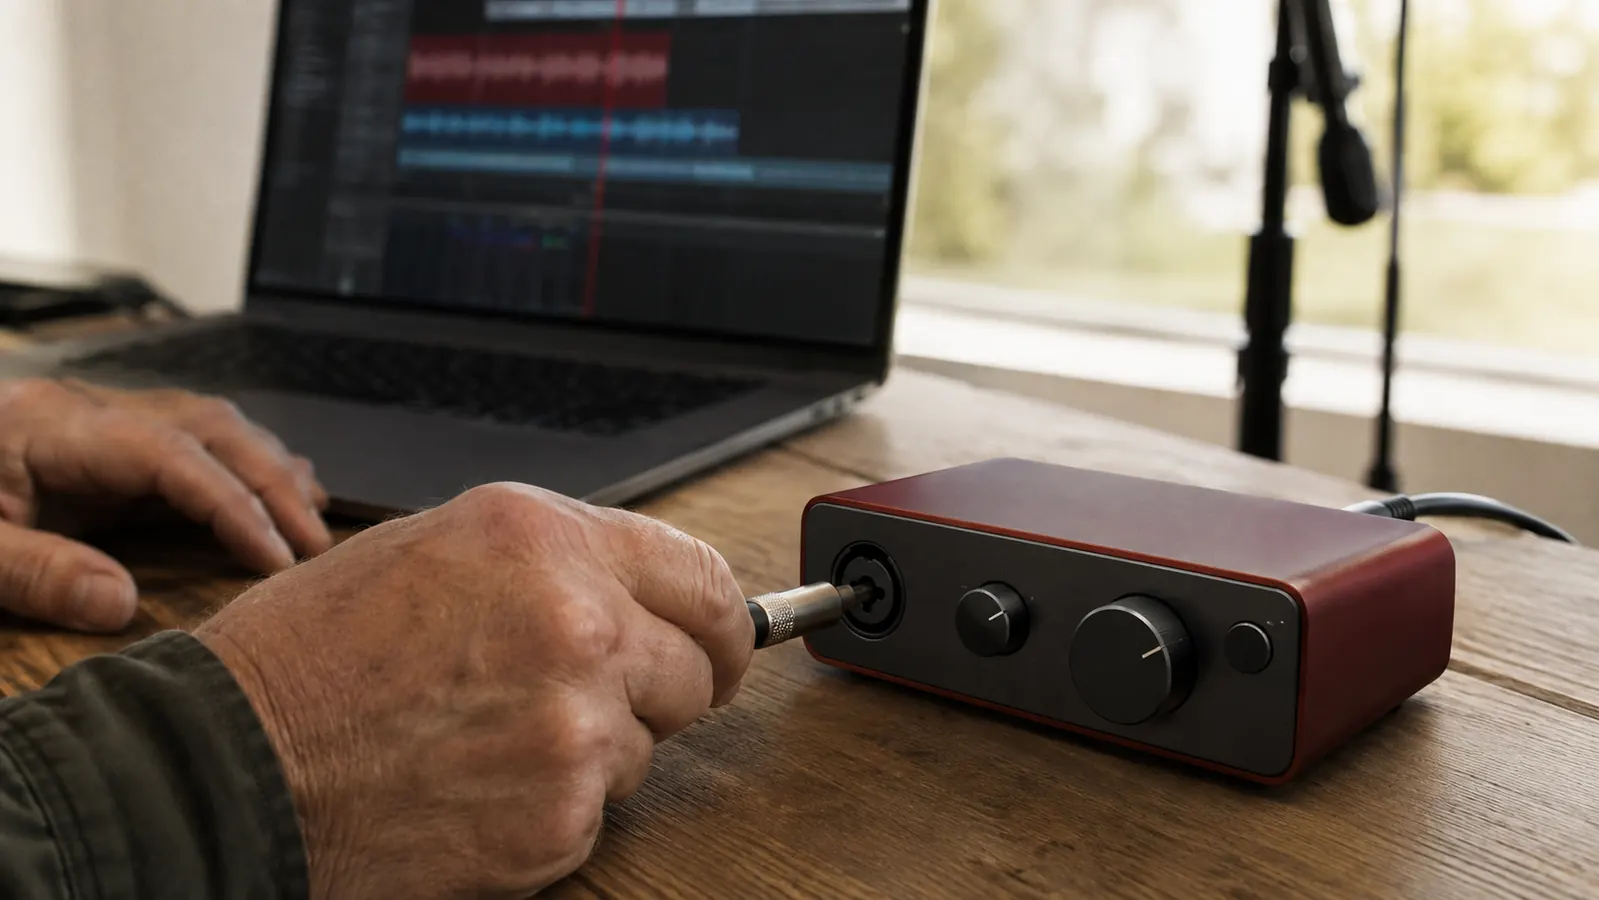
Set the Focusrite Scarlett Solo on your desk within reach of the computer. It connects over USB-C, and on a Mac or a modern Windows machine it is class compliant, which means the computer recognizes it without a driver install. Students expect a disc, a registration, a maze. There is none. Plug it in, and the machine sees a microphone, an instrument input and a headphone output, all at once.
Now look at the front edge of the interface. Input one, on the left, is the round XLR mic jack. Input two, on the right, takes a quarter-inch guitar or keyboard cable. If you want to sing and play at the same time, one microphone into input one does the whole job. If you are plugging a guitar straight in, use input two and press the switch marked Inst, which lifts the input to instrument level so the pickup is not swallowed.
Get comfortable with the order early: interface first, software second. Recording programs expect to find the hardware awake when they open, and most of the frustrating the-app-does-not-hear-me moments come from plugging gear in after the program has already started. Thirty seconds of order saves forty minutes of menu digging.
Step 2: Open Free Software and Point It at the Scarlett
For a first song you do not need to buy any software. Mac users open GarageBand, which is already on the machine. Windows users download Audacity, which costs nothing, or use the Ableton Live Lite license that comes in the Focusrite Scarlett Solo box. Every road leads to the same place: a window with a big record button, waiting for your voice.
Find the audio settings in whatever program you opened, and set both input and output to the Scarlett Solo. If the program has a monitor setting, turn that on. The instant it is set, you should hear yourself talking through the headphones, live, with no delay beyond the direct signal the interface sends. If you hear nothing, the fix is usually one dropdown: the Scarlett instead of the built-in laptop mic.
Set the sample rate to 44.1 kHz and leave the buffer size alone unless you hear crackling, and only then nudge it up one step. And wear headphones while you track. If you record through laptop speakers, the microphone quietly captures the computer's own sound echoing around the room, and the take comes back hollow. Closed-back headphones stop that, and they are the cheapest upgrade in the whole setup.
Step 3: Set the Gain Right Once, and Leave It Alone
The gain knob on the front of the Scarlett is the single control that separates a usable take from a ruined one, and it is the one beginners get backwards. Too much gain, and your loudest note slams into the red and distorts. Too little, and the quiet passages sit buried in hiss. The halo around the knob lights up as a meter, and that halo is the whole lesson.
The way I teach it: play or sing your actual loudest moment, the part you plan to play, not the part you hope to someday play, and watch the halo. If it flashes bright yellow or red, roll the gain down a third of a turn. Then play your quietest passage and confirm the light still moves at all. Five minutes here saves an hour of trying to rescue a distorted vocal after the fact.
One more thing, and fellow teachers will nod at this one: keep the interface gain knob in charge, not the software volume slider. The knob drives the preamp, the actual electronics that do the work. The slider inside the program is a clerk standing between your signal and the file, and it adds noise without adding signal. If you are fighting for level, turn the knob, not the slider.
Step 4: Record a Take, Not a Masterpiece
This is the step that needs the least gear and the most nerve, so here is the permission slip: your first recording is an experiment with a deadline, not a release. Sit where you will actually sing or play. Arm the track, give yourself a count-in if the program offers one, and take a breath before the tape rolls. The red light is not judging you. It is just listening.
For a first song, record a performance, not a construction project. One microphone, one take, voice and guitar together, is a perfectly good first song, and it stays honest to listen to in a way that twenty overdubbed parts rarely are. If you want to layer, start simpler than feels impressive: play the guitar part first, steady and forgiving, then sing over it on a second track while you listen through the headphones. Two tracks is the entire first production.
A few real-world notes from my side of the desk. Back off a foot from a condenser microphone instead of singing right into the grille, it stops the muddy proximity boom. Use the direct monitor switch on the Scarlett 4th Gen so you hear your own voice instantly in the headphones while you record, with none of the lag software adds. And do not stop a take because of one flubbed line. Edit later. The nerve to record a second full take is harder to find than the two seconds it takes to cut a mistake.
Step 5: Export, Listen Somewhere Else, Do It Again
A song is finished when it leaves the program. Trim the dead air off the front and tail of the take, leave the performance itself alone, and export. GarageBand and Audacity both write a WAV file, the clean, lossless format worth keeping as the original, and you can convert a copy to MP3 the same afternoon when you want to text it to someone. Name the file with the date in it, so song one becomes a marker you can find later.
Then the part nobody warns beginners about: take the file off the desk. Play it in the car, on a phone speaker, through the good headphones and the cheap ones, once each. That is not showing off, it is quality control. The mix always reveals itself somewhere that is not your computer's acoustic kindness. Notice the one thing that falls apart, decide whether it is the take or the levels, and go back and record just that piece again.
Student song number two is always better than song one, and it is better because they learned what their own voice looks like in a recording, not because the gear changed. That is the loop, and it is the whole point of recording first songs: you start hearing yourself the way the audience does, and that hearing changes everything you play next.
What Else Helps
Three things make this workflow easier, in order of how little they cost. A pair of closed-back monitor headphones keeps you honest while you track, and the same pair becomes your mixing reference. I wrote a full review of the Focusrite Scarlett Solo after a year of recording lesson playbacks on it, and I compared it head to head with the PreSonus AudioBox 96 for anyone deciding between the two. Both of those articles say what I wish someone had told me before my first record button.
A decent microphone helps more than a second input ever will, and a modest one works fine if the room is quiet. Pick the quietest room in the house, hang a blanket over the noisiest reflective surface, and record facing away from the window and the street. Boring advice, and it moves the sound more than any cable or knob.
What to Do When It Sounds Wrong
Every student's first mix has one moment where they listen back and want to close the laptop. Usually it is one of three things. The take is quiet, and the answer is gain staging: check step three and turn the interface knob, not the software slider. The take crackles, and that is the buffer size, so raise it in the program settings. The take has a hum underneath it, and nine times out of ten it is a power cable lying across an audio cable, so move the phone charger and the lamp cable away from the interface and re-record.
Notice that none of those fixes involve buying anything. Spend one afternoon troubleshooting and most of what a beginner calls a bad recording disappears, and what remains is a quick forum search or a question to a teacher away from a fix. Recording at home gets better in a straight line from here, which is not true of most things students ask me about.
One student recorded the same two-chord song on his phone and then again through the Scarlett Solo. His dad asked who the professional was on the second take. Same player, same room, same afternoon. The only difference was the interface.
Here is the whole honest pitch: your first song is not waiting on talent or on a studio budget. It is waiting on one clean path from your hands to a file, and the Focusrite Scarlett Solo is the most-traveled path there is for exactly this job. Plug it in, set the gain once, and press record. The song you have been carrying around finally gets to live somewhere it can be played back.
Your First Song Is One Afternoon Away
You already have the song. The computer is already in the room. The one piece missing is the interface that carries your playing cleanly into the file, and that is the whole job the Focusrite Scarlett Solo exists to do.
Amazon Check Today's Price on Amazon →